If you didn’t launch VirtualLab Client immediately after installing it, you can also launch the application by going to:
Start > Programs > BinaryBiz > VirtualLab Client > VirtualLab Client.
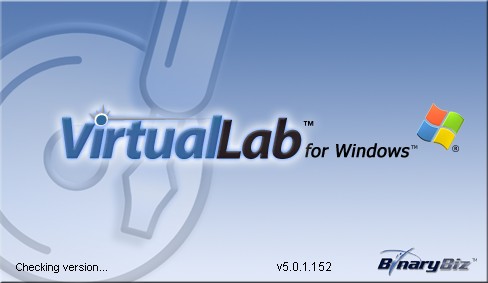
After you have launched the VirtualLab Client a splash screen will appear for a couple of seconds:
VirtualLab will check if new version is available, and will offer you to download new version
if it was found:
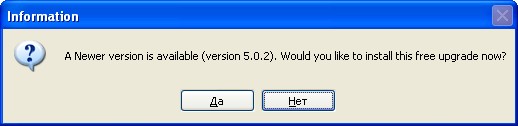
Do not ignore this offer! Download new version by pressing “Yes”.
After this you’ll see small window with downloading progress bar:
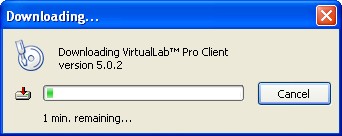
Wait a little until new version is downloaded.
Then it will be installed automatically, and after this you’ll see main VirtualLab window.
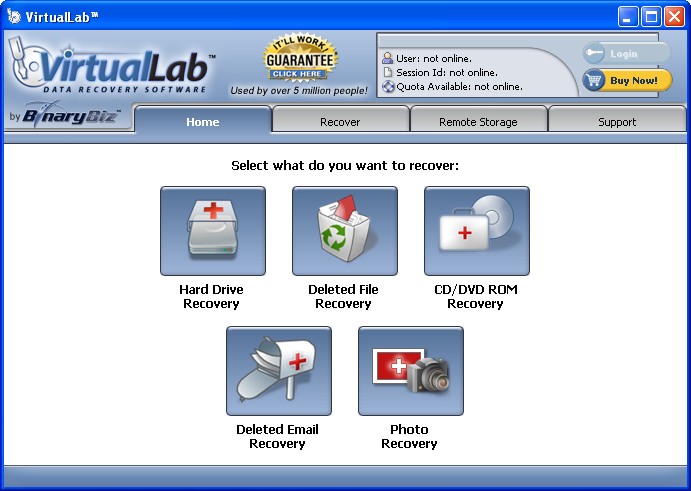
Now, you have to choose which kind of recovery you need.
Just press “Hard Drive Recovery“, or “Deleted File Recovery“, or “CD/DVD Recovery“, or “Deleted Email Recovery“, or “Photo Recovery”
Choose “Deleted File Recovery” if you want to recover files that were intentionally (or accidentally) deleted.
If you’ve lost data after computer crash, virus/malware activity or formatting Bad Drive, you should choose “Hard Drive Recovery“.
You can go back to this choice at any time later – just click “Home” tab in upper part of the main VirtualLab window.