Follow these steps to install VirtualLab Client on the Host Computer:
1. Make sure the Host Computer meets all of the system requirements and that the Host Computer and Good Device have sufficient memory available, as defined in the pre-installation checklist.
2. If you haven’t done so already, install the Bad Device as an additional device to the Host Computer. If you need assistance, read this article. It’s important that you use this page as an installation reference only. You can also contact the drive manufacturer for assistance with installing their driveas a slave (secondary) device. Be sure that the primary drive is loading Windows and can connect to the internet.
3. Download VirtualLab Client if you have not already done so.
4. Extract the VirtualLab.zip file using a file-compression utility such as WinZip, PKZip or WinRAR. If you already have one of these utilities, it will launch automatically when you double-click the VirtualLab.zip file. If you don’t have a file-compression utility, you must download one from the Internet.
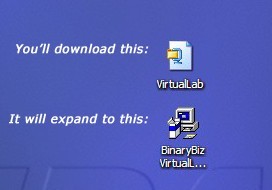
VirtualLab Client Installer
5. If you are upgrading from a previous installation, uninstall the older version of VirtualLab Client first.
6. Double-click the VirtualLab Client Installer.
A dialog box with a progress bar will indicate that the application is preparing to install. This should take only a few moments.
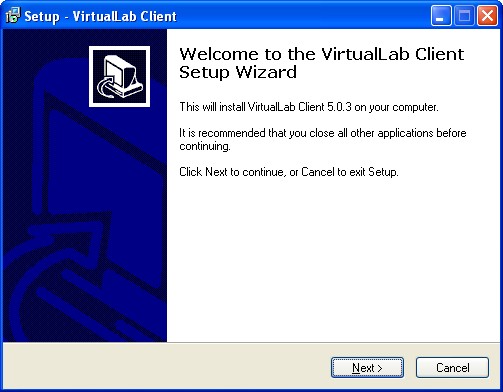
7. Click Next in the VirtualLab Client Setup Wizard that appears next:
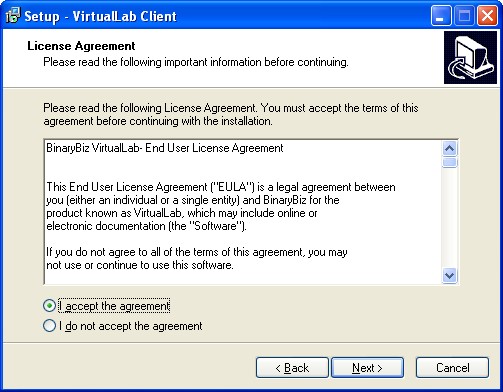
8. Read the license agreement, set radio button to “I accept the agreement” position and click “Next”. If you click Decline, the installation will end, and you will need to uninstall VirtualLab Client.
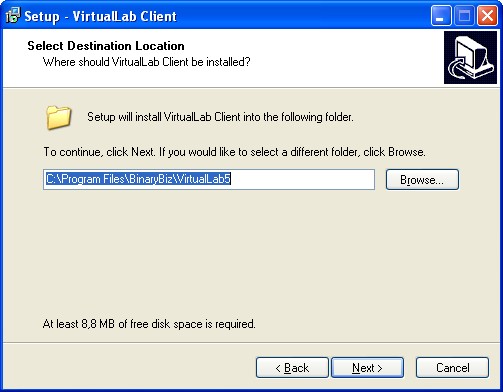
9. Select a folder in which to install VirtualLab Client. The default selection is your Programs folder. Since this is the best place in which to install the application, we recommend you just click Next (just be sure you don’t install VirtualLab Client on the Bad Device).
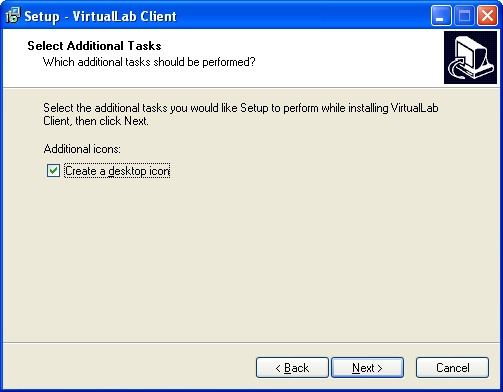
10. You will be prompted to create a desktop icon on next step:
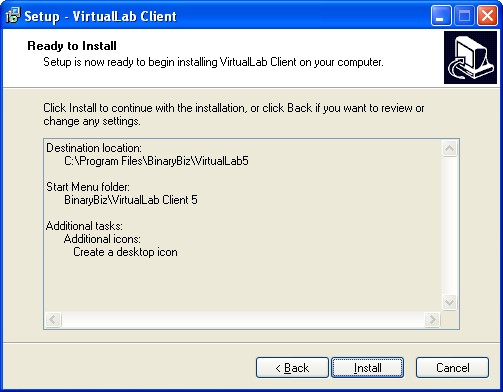
11. Check all settings and press the “Install” button:
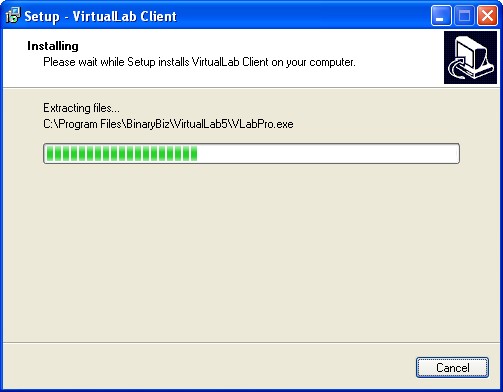
12. A progress meter will appear to let you know that VirtualLab Client is being installed in the selected folder on the Host Computer.
13. In a few seconds, you’ll get a message informing you that the installation was a success!
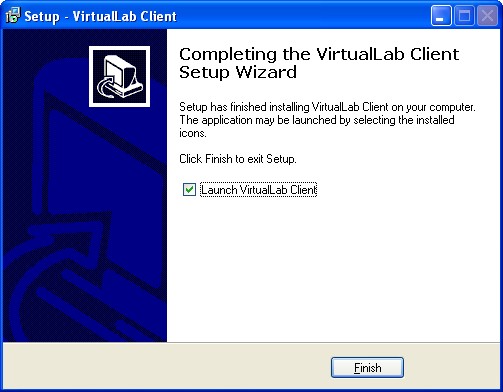
14. If you’d like to immediately begin using VirtualLab Client, select the “Launch VirtualLab Client” checkbox and click “Finish”.